Screenshot automation
I created a screenshot automating tool to make it easier to take consistent before/after screenshots for my work at GitLab.
What Does It Do?
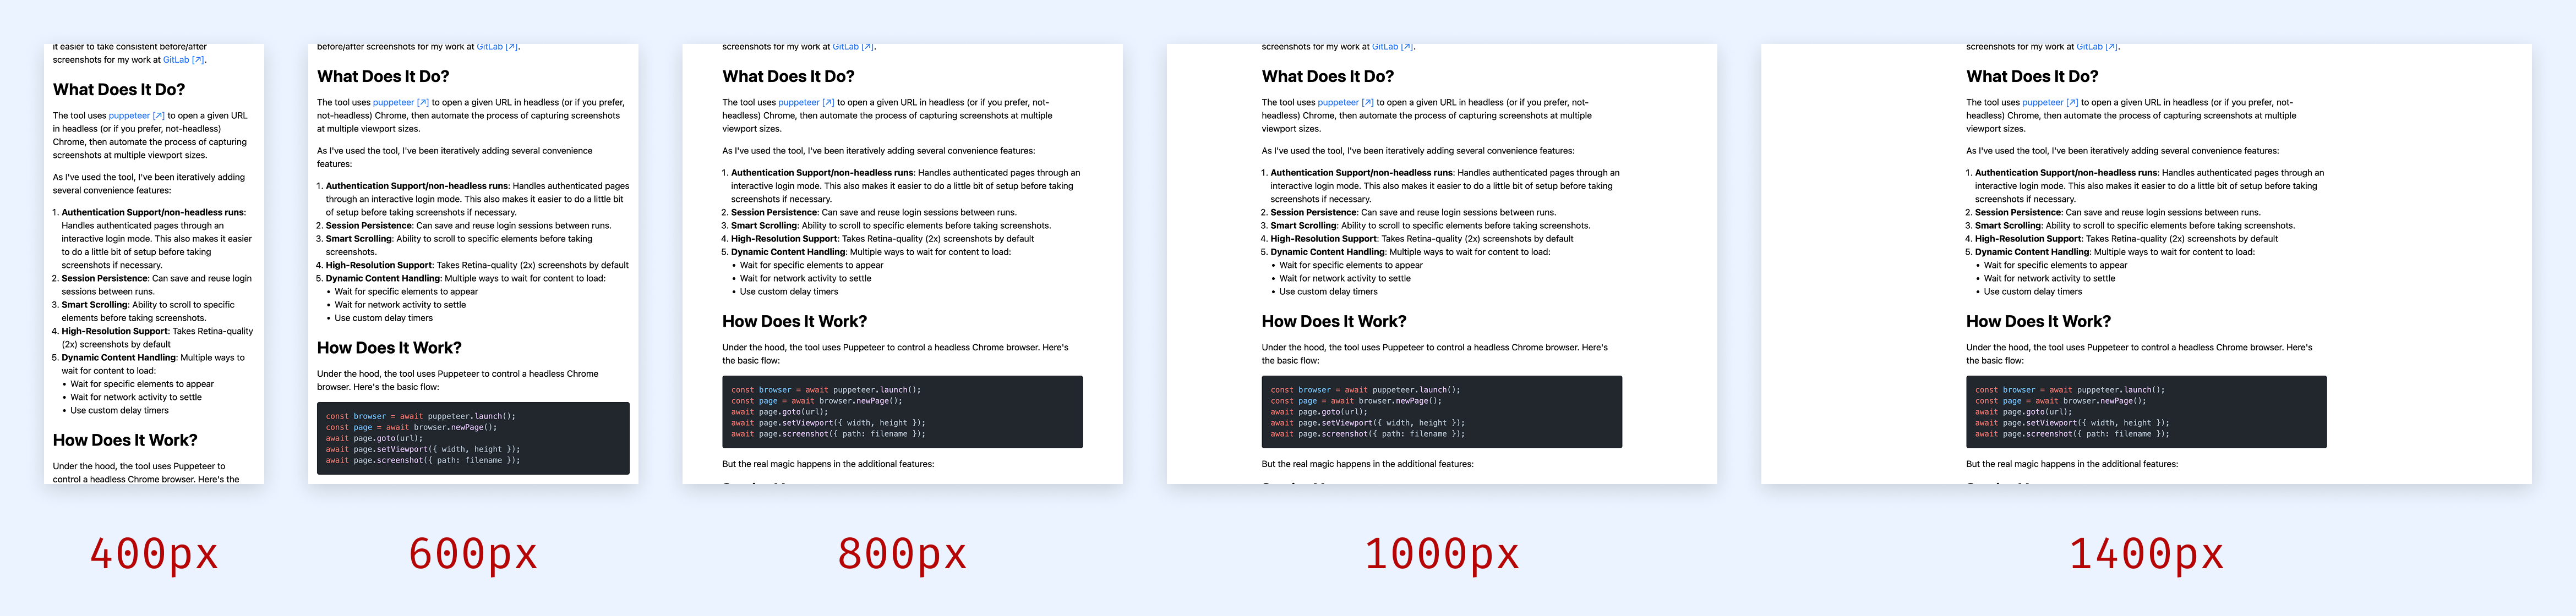
The tool uses puppeteer to open a given URL in headless (or if you prefer, not-headless) Chrome, then automate the process of capturing screenshots at multiple viewport sizes.
As I've used the tool, I've been iteratively adding several convenience features:
- Authentication Support/non-headless runs: Handles authenticated pages through an interactive login mode. This also makes it easier to do a little bit of setup before taking screenshots if necessary.
- Session Persistence: Can save and reuse login sessions between runs.
- Smart Scrolling: Ability to scroll to specific elements before taking screenshots.
- High-Resolution Support: Takes Retina-quality (2x) screenshots by default
- Dynamic Content Handling: Multiple ways to wait for content to load:
- Wait for specific elements to appear
- Wait for network activity to settle
- Use custom delay timers
How Does It Work?
Under the hood, the tool uses Puppeteer to control a headless Chrome browser. Here's the basic flow:
const browser = await puppeteer.launch();
const page = await browser.newPage();
await page.goto(url);
await page.setViewport({ width, height });
await page.screenshot({ path: filename });
But the real magic happens in the additional features:
Session Management
I set the screenshot automator up to preserve and use a chrome profile for each domain if the --persist flag is passed:
npm run screenshot -- https://example.com --persistThis uses puppeteer's userDataDir prop.
// Store Chrome profiles in .chrome-profiles directory
const userDataDir = path.join(
  dataDir,
  `chrome-profile-${sanitizeDomain(domain)}`,
);
const browser = await puppeteer.launch({ userDataDir });
Smart Element Scrolling
When --scroll=<selector> is passed, the first element to match the selector is scrolled into view. By default, it's centered:
await page.evaluate((selector, position) => {
  const element = document.querySelector(selector);
  element.scrollIntoView({
    block: position,
    inline: "center",
    behavior: "instant",
  });
});
I found that often I want to take a screenshot of a particular element on the page, which may have a variable height, so I added the --scroll-pos=<top|center|bottom> flag.
When --scroll-pos=top is passed, the element is scrolled into view, but then I check if the top edge of the element is actually visible with JavaScript's document.elementFromPoint method.
Basically, I check if the elementFromPoint at the top left corner of the target element is actually the target element. If not, I scroll it down a bit, check again, and try this up to 50 more times to get it scrolled out from beneath any fixed or sticky positioned elements that may overlap it.
Usage Examples
Basic screenshot capture:
npm run screenshot -- https://example.comWith authentication and session persistence:
npm run screenshot -- https://app.example.com --login --persistCustom viewport sizes:
npm run screenshot -- https://example.com --widths=375,768,1024,1440

# With a custom height as well
npm run screenshot -- https://example.com --widths=375,768,1024,1440 --height=1200
Maintenance and Cleanup
I ended up with a ton of pngs hanging around that I was manually deleting, so I added a cleanup script that can delete the images for me.
# Remove old screenshots
npm run cleanup -- --days=14

# Remove all screenshots
npm run cleanup -- --all

# Just to a dry run to see what would be deleted
npm run cleanup -- --dry-run
I also realized I'd like to be able to quickly trash the saved Chrome profiles:
# Clean up Chrome profiles
npm run cleanup -- --profiles
Configuration
I moved all my defaults to a separate config.js file:
module.exports = {
  defaultViewports: [
    { width: 400, name: "xs" },
    // ...
    { width: 1400, name: "xl" },
  ],
  defaultHeight: 800,
  deviceScaleFactor: 2, // For Retina screenshots
};
This means as my usage evolves I can keep my CLI usage terse, instead of ending up usually passing tons of flags to override outdated defaults embedded in the source code. It also makes it easier for someone else to customize it to their own needs if someone clones the tool and uses it on their own.
Why Use This Tool?
- Time Savings: What used to take hours of manual work now takes seconds
- Consistency: Get identical viewport sizes every time
- Automation Friendly: Easy to integrate into CI/CD pipelines
- Developer Experience: Simple CLI interface with sensible defaults
- Flexibility: Extensive configuration options for specific needs